Localizations
Conquer your customers' hearts with local prices and language
General
You can set multiple locales for a funnel to show personalized content for users from different countries. Conversion rate is usually boosted if customers don't have to use translation service during onboarding.
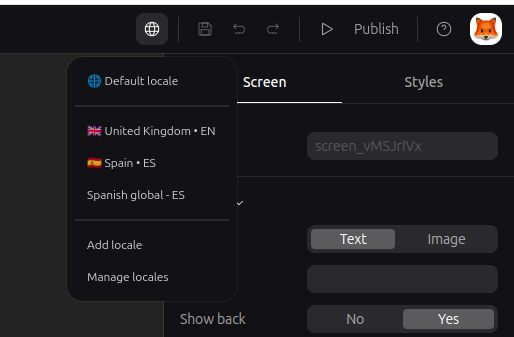
To create your first locale, click the globe icon and select Add locale option.
Later you''l be able to edit locales' content by switching between them using the same menu and selecting a locale.
Locale properties
General
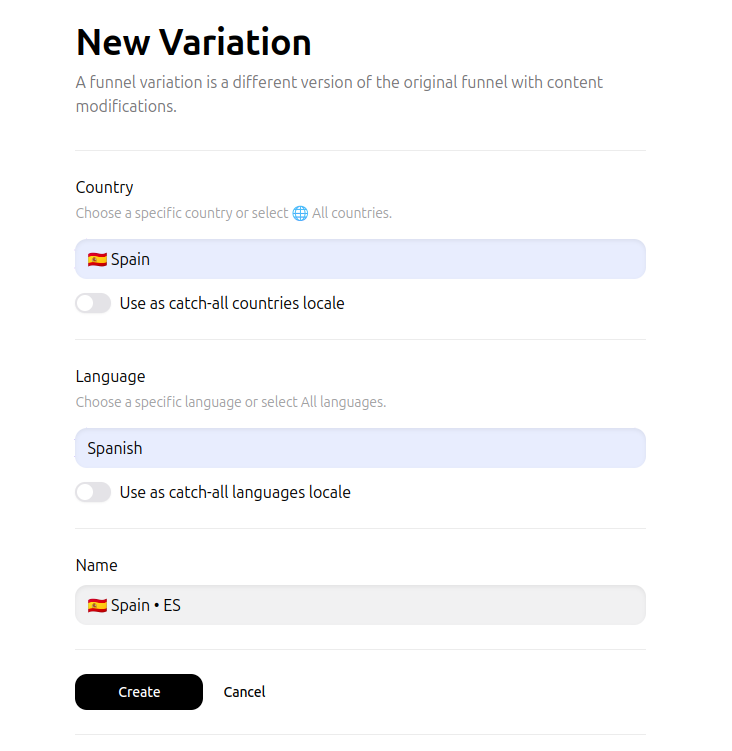
Locale is defined by two properties: Country and Language. They are mandatory for each locale except Default one.
When a user starts onboarding our system checks his location and browser language and seeks for the matching locale. We determine users' location based on their IP and browser geolocation data, and their language by the Accept-Language browser request headers. If matching locale is found it will be automatically shown to the user. Otherwise, the user will see Default locale.
Europe locale
The Europe country locale covers the following ISO country codes: AT, BE, BG, CY, CZ, DE, DK, EE, ES, FI, FR, GR, HR, HU, IE, IT, LT, LU, LV, MT, NL, PL, PT, RO, SE, SI, SK.
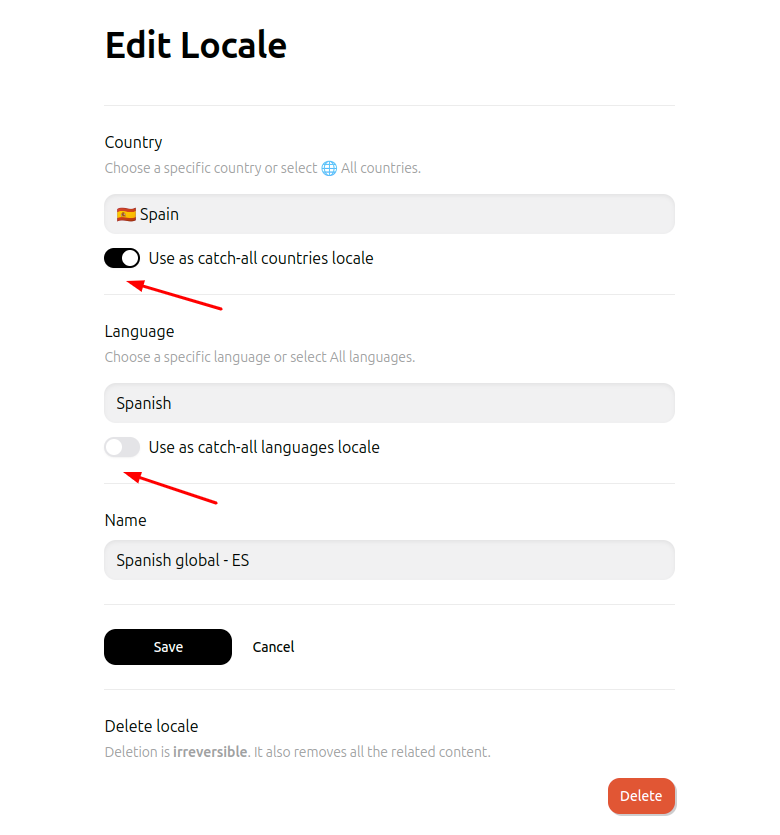
Catch-all switch
If you don't want to separate users by country or language you can enable Catch-all. System will treat property with enabled catch-all switch as matching to any value. It's useful for covering wide user categories.
For example, locale with catch-all enabled only for Country and Language set as "Spanish" will be shown to users with Spanish language browsers from any country.
To avoid confusion our system has the following priority when searching for matching locale:
- Exact Country and exact Language
- Exact Country and Catch-all Languages
- Catch-all Countries and exact Language
- Catch-all Countries and Catch-all Languages
- Default locale
It means that Default locale will be never shown to users if you have locale with both Catch-all switches enabled.
Locale code
We pass two locale parameters in our webhooks and API responses: locale and locale_code.
locale contains locale Name that you've specified during locale creation. Default locale's name is always empty.
locale_code is made of two parts: language code and country code. Default locale's code is always en-US.
Content
While editing a locale you're allowed to change only elements' contents such as texts and images but not elements themselves, nor changing their order on a screen.
You can select different products for checkout elements as well. So you can set a product with price in local currency.
You can't add or delete a screen for locale.
All changes made for Default locale will be automatically applied to all locales.
Don't forget to publish changes
Locale content and settings changes will go live only after funnel's republishing.
Locale Management
In the dropdown menu you've seen a Manage locales option. Selecting it will open Locale Management tab.
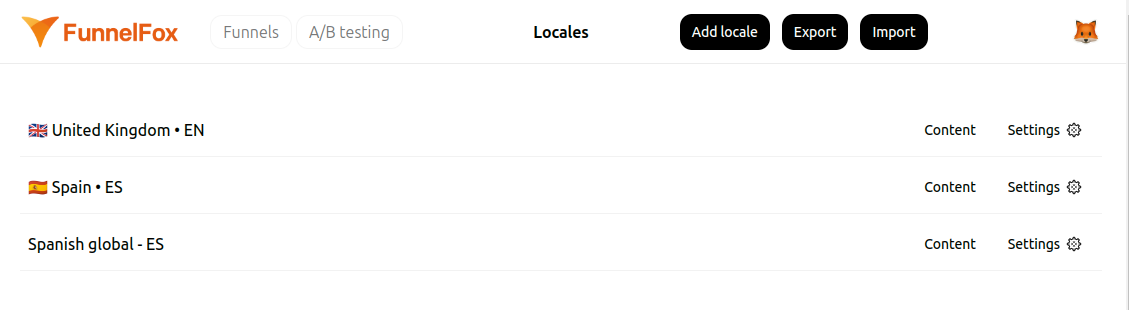
Here you can see all locales for current funnel, except the Default one.
Also, you have several options available:
- Add locale button will create a new locale
- Settings button will open locale properties for corresponding locale, allowing you to change them or to delete the locale completely
- By clicking locale's Name or Content button you can enter editor to change locale's content
- Export and Import buttons simplify localization process and will be described below
Export and Import
If you want to use automatic translation service, you'll find this feature handy.
Export button allows you to download all editable text fields and their current values for all existing locales in a single .tsv file.
This file is accepted by almost any specialized automatic translation service.
Once you've got a translated .tsv, you can upload it using the Import button. Values from the file will be applied to appropriate locales, just ensure that columns and rows structure is similar to the originally exported .tsv file.
AI-Powered Localizations ✨
FunnelFox supports AI-generated translations to help you localize funnels faster and with less manual effort. AI translation is available in two places:
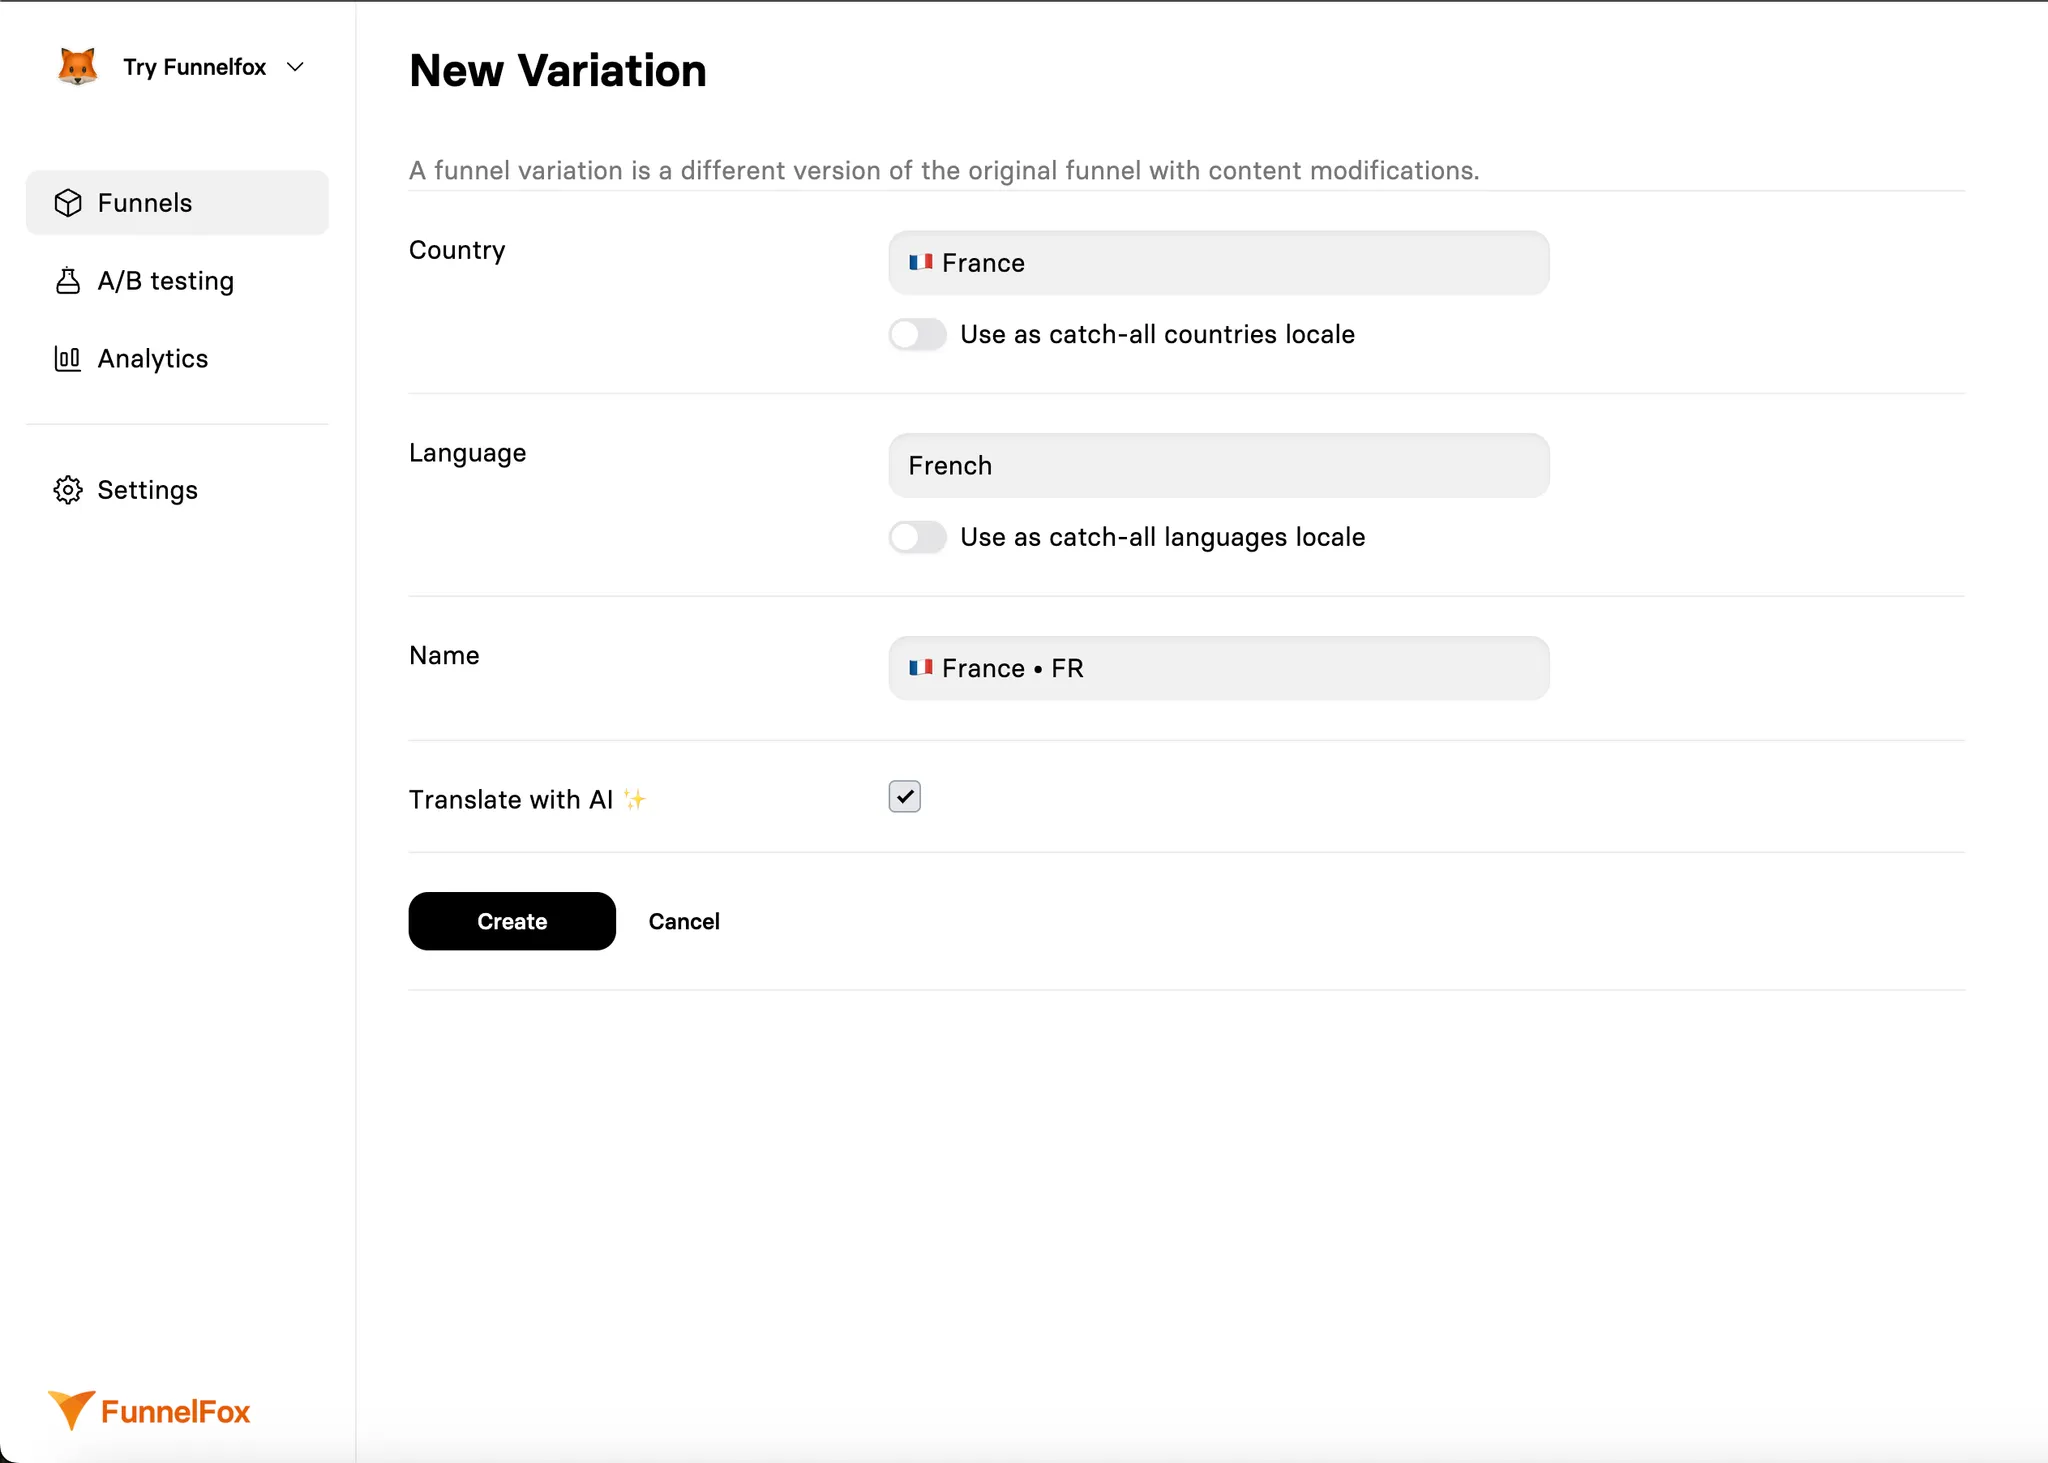
1. When creating a new localization
Just check the Translate with AI ✨ box to auto-translate the Funnel into the selected language.
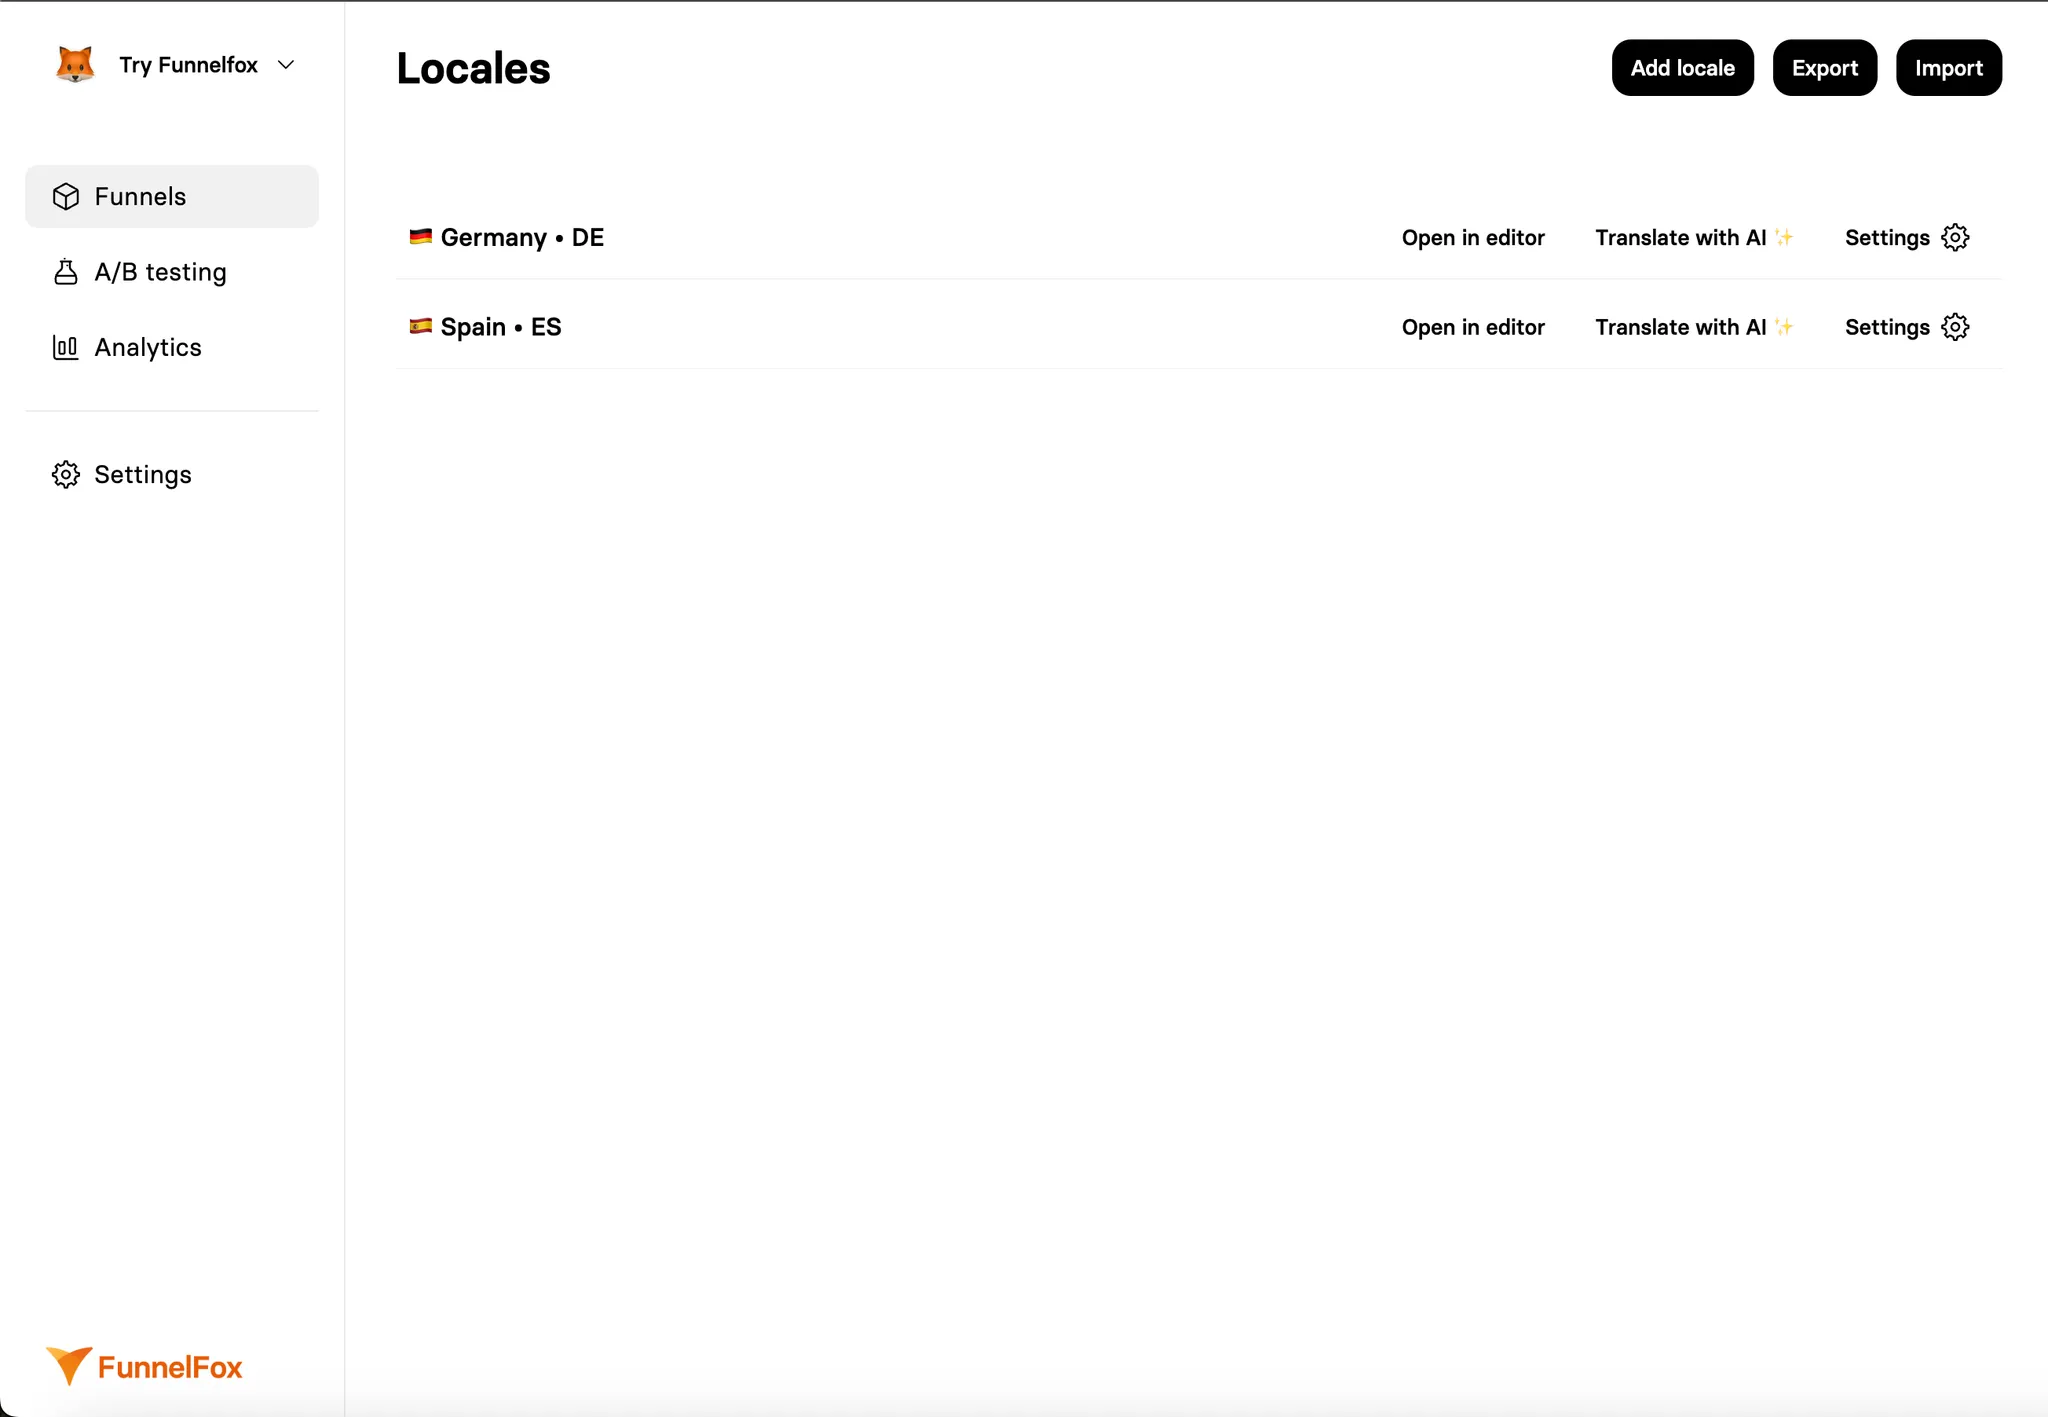
2. From the Variations list
Go to the Locales page and click Translate with AI ✨ next to the localization you want to update.
This only applies to the specific row you click - it won’t affect other localizations.
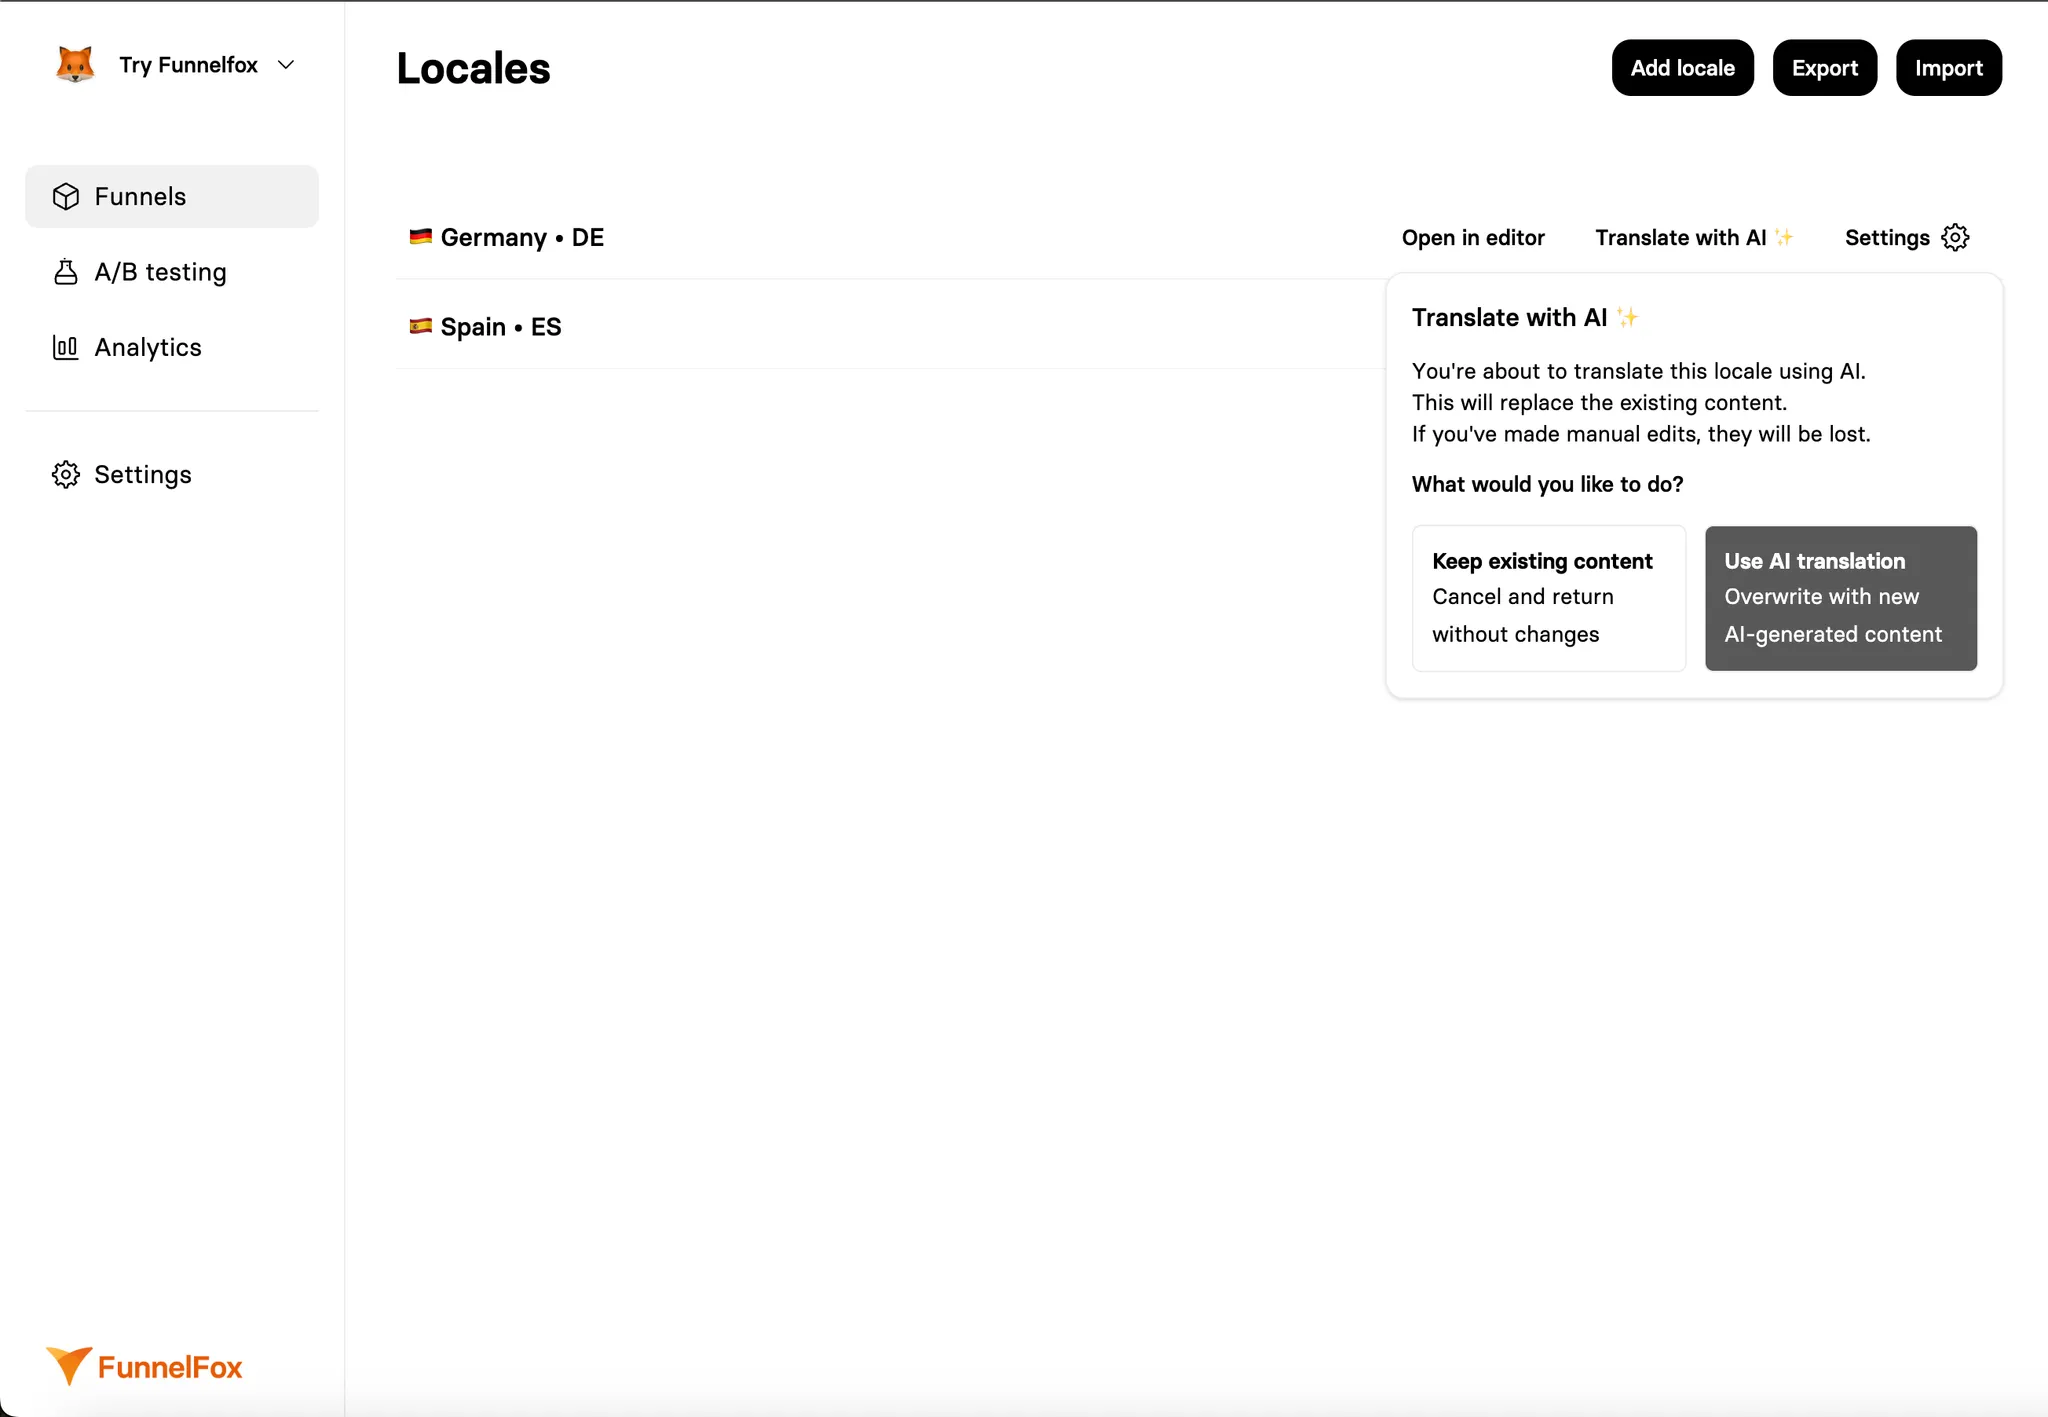
Translating a funnel variant from the Locales page will overwrite the existing localization.
You can still keep the existing content.
Translation may take up to 2 minutes, especially for larger funnels.
Updated 3 months ago